

NocoBase ships with a built-in Workflow plugin that turns event-driven business logic into configuration rather than code. Every workflow is shaped the same way: a single trigger defines the event that starts the process, and a chain of nodes carries out the steps that follow. This article walks prototypers through that model in detail, covering the four foundational concepts, the three trigger types available out of the box, and the node categories that handle branching, data, and external calls. The goal is to give non-engineers a precise mental model for designing automation without writing backend code.
The Workflow plugin, distributed as @nocobase/plugin-workflow, is a first-party package included with every standard NocoBase installation. It is enabled by default and requires no additional installation steps, which means a fresh NocoBase environment is already equipped to model event-driven business logic.
The plugin exists to replace custom backend code with configuration. Activities such as approval routing, notification dispatch, cross-collection data synchronization, and scheduled reminders typically require hand-written services in a conventional application. In NocoBase, these activities are expressed as workflows: a trigger selects the event that starts a process, and a series of nodes carries out the subsequent steps. Because the logic is stored as data rather than compiled code, several practical consequences follow for prototypers:
This approach is particularly useful in early-stage design, where business rules change frequently and the cost of each change directly affects iteration speed.
The plugin identifier @nocobase/plugin-workflow and its status as a built-in component reflect NocoBase documentation current at the time of writing. Because plugin packaging and naming can change between versions, readers should verify the identifier against the latest official NocoBase documentation before relying on it in production configurations.
The trigger is the single configured event that serves as the entry point of a workflow. When NocoBase evaluates the trigger and its conditions are met, the engine starts a new execution. The constraint "one trigger per workflow" is deliberate: it keeps the entry condition unambiguous and makes the workflow's behavior predictable from its definition alone.
A node is an individual instruction unit inside a workflow. Each node performs a specific action—such as updating a record, branching on a condition, or calling an external service—and exposes inputs, outputs, and configuration that depend on its type. Nodes are linked together upstream and downstream to form the process graph; the engine walks those links from the trigger outward and stops where the graph ends. Because node behavior is driven by configuration rather than code, a prototyper can compose complex logic by selecting, ordering, and wiring nodes through the workflow editor.
An execution is the record of a single run that begins when a workflow's trigger fires. It captures two kinds of information:
Taken together, these records form an audit trail. Prototypers can open past executions to see which workflow ran, what data it saw, which node succeeded or failed, and why the process stopped—useful both for debugging and for reviewing automated business behavior.
The four concepts form a strict hierarchy:
Keeping these distinctions clear makes the rest of the workflow vocabulary—trigger types, node categories, branching, and external calls—much easier to map onto NocoBase's editor.
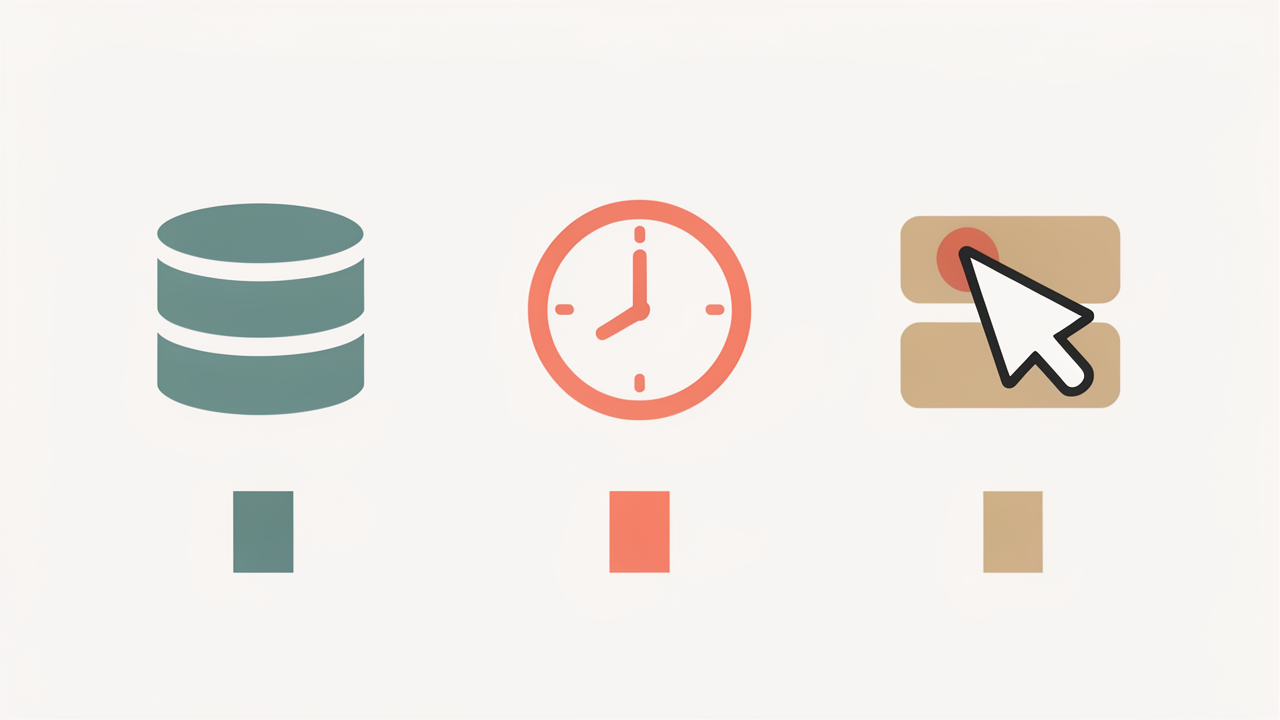
Every NocoBase workflow contains exactly one trigger, and the trigger you select defines the driving force behind the entire process: data, time, or the user. The platform ships with three categories that cover the vast majority of automation needs, and choosing the right one up front shapes whether the workflow reacts to changes, follows a schedule, or waits for human action (NocoBase docs).
A Collection Event fires when rows in a specific collection are created, updated, or deleted. It is the natural choice when business rules must respond to changes in the underlying data — for example, recalculating a score when a record is updated, or cleaning up related rows when a parent record is deleted. The official inventory deduction example illustrates this pattern: a workflow starts automatically when an order is submitted, then checks stock and either deducts inventory or ends the process (NocoBase docs). Because the trigger binds directly to a data operation, Collection Events produce data-driven workflows that run without any user involvement.
A Scheduled Event runs at a configured time or on a recurring interval, such as every day at a fixed hour. It is well suited to reminders, batch cleanups, and daily or weekly reports — situations where the business event is "the clock strikes X" rather than "someone changed a record." The NocoBase application catalog walkthrough shows the pattern in action: a Scheduled Event fires every day, queries the Reminders collection for items due that day, loops through them, and sends a notification for each one (NocoBase blog). Scheduled Events therefore produce time-driven workflows that run independently of user input.
A Post-Action Event fires after a user explicitly invokes a custom action configured on a page or block. It is the right choice for human-initiated flows such as approval requests, manual reviews, or one-off operations that should not happen on every data change. Whereas Collection Events run automatically on data mutations, Post-Action Events wait for an explicit click, giving designers a way to gate side effects behind a deliberate user decision. Approval and review flows described in the documentation map cleanly onto this trigger type (NocoBase docs).
Because a workflow holds exactly one trigger, the selection determines its character. Use a Collection Event when the business event is a data change, a Scheduled Event when the business event is a point in time, and a Post-Action Event when the business event is a human decision. The inventory example demonstrates a data-driven flow, the reminder example demonstrates a time-driven flow, and approval scenarios demonstrate user-driven flows — together they cover the three axes along which most no-code automation is designed.
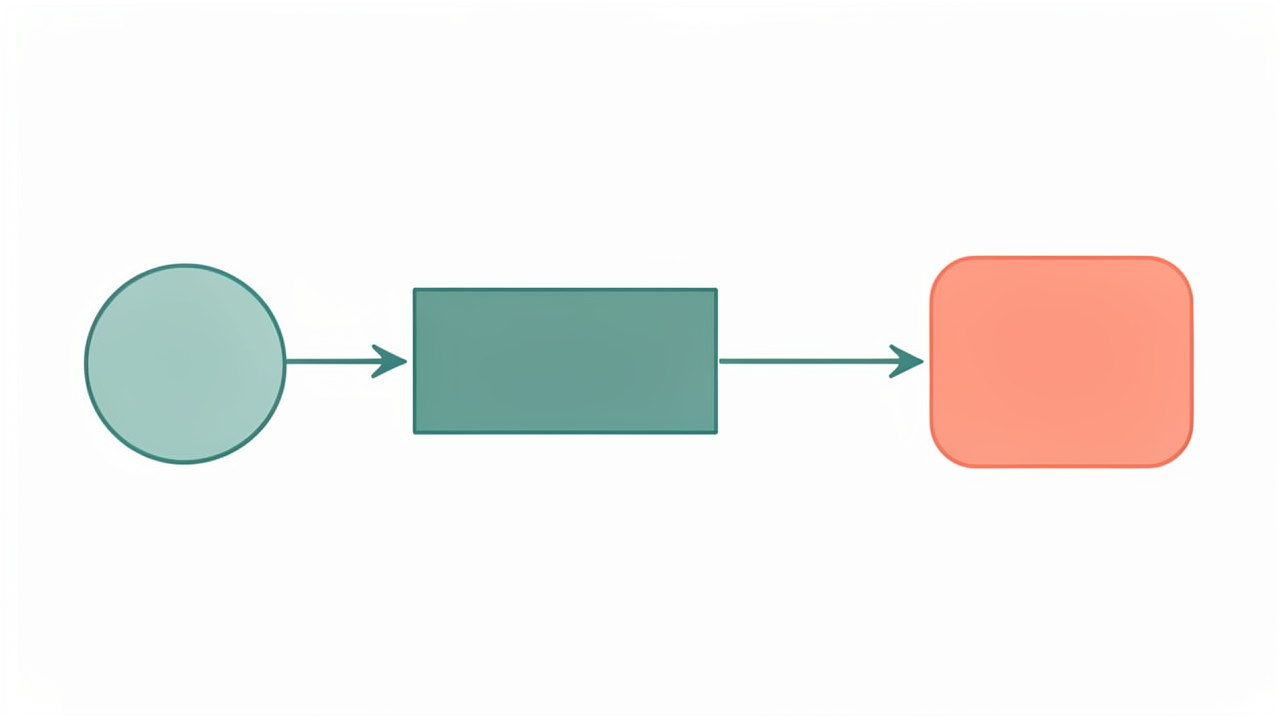
When a trigger event is reached, the workflow does not "jump" to the end of the process. It walks step by step through a chain of nodes, each one an execution step with a clearly bounded job. A node reads inputs from upstream nodes (or, for the first node in the chain, from the trigger context) and produces outputs that the next node downstream can read. This is the upstream/downstream relationship that turns a list of nodes into a coherent flow (NocoBase Docs — Workflow Plugin).
Conceptually, a NocoBase workflow behaves like a flowchart. The trigger is the entry point, and each node is a shape that may:
Common node responsibilities include:
A typical inventory example makes this concrete: after the "order submitted" trigger, an inventory check node looks up stock, a branch splits execution into "sufficient" and "insufficient" paths, and downstream nodes either deduct inventory and create the order, or end the process (NocoBase Docs — Workflow Plugin).
In the visual editor, new nodes are added by clicking the '+' button that appears on the canvas. Each node is then configured through a form-based interface rather than code: the form exposes the node's inputs, options, and downstream wiring. Because the same form-driven pattern applies to every node type, non-engineers can compose checks, branches, and actions using the same authoring experience.
Because nodes are configuration objects stored alongside the workflow, the same process can be tweaked at any time. Adjusting a condition, swapping a notification channel, or rerouting a branch does not require code changes, a rebuild, or a new release — only an edit to the workflow definition. This is the practical payoff of the upstream/downstream model: a small change to one node's configuration reshapes the flow without touching the rest of the application.
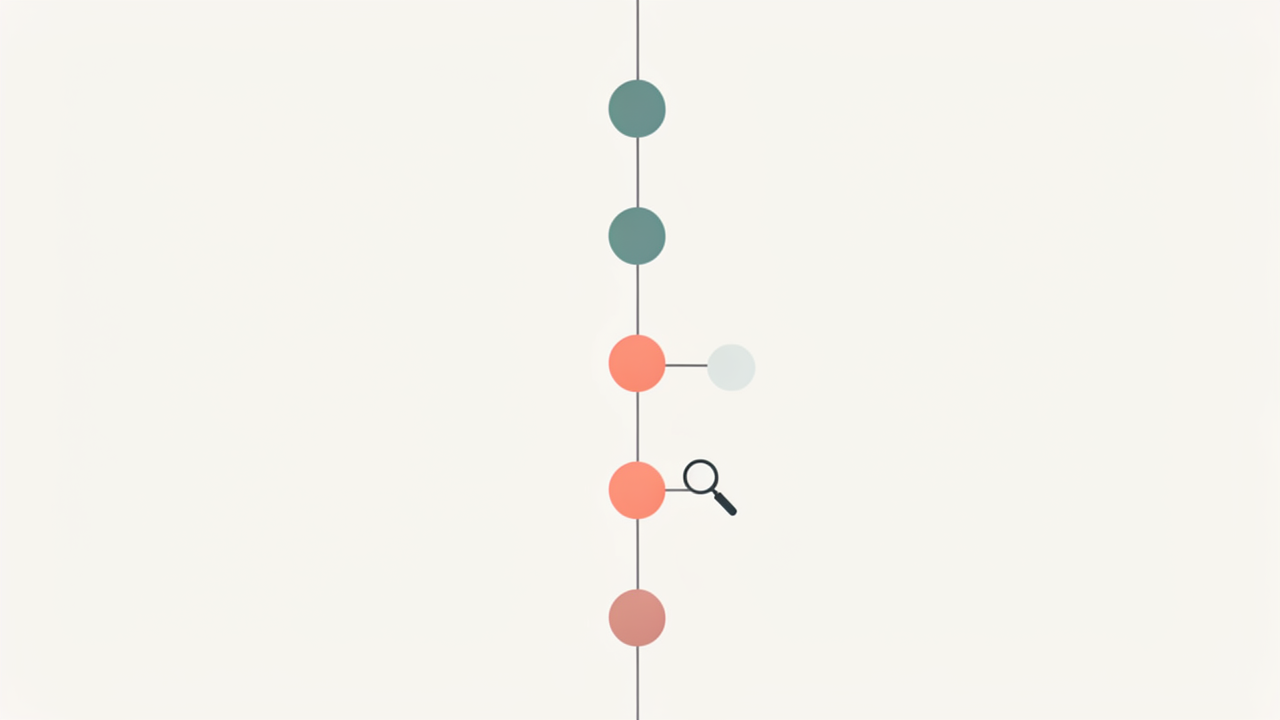
Every time a workflow's trigger fires, NocoBase writes an execution record — also called an execution history entry — that captures the trigger context data, the overall run status, and a per-node execution result. Because the record is created automatically, no extra setup is required to start debugging.
To inspect past runs, open the workflow in the workflow editor and click the "…" (three dots) menu in the upper right corner of the canvas, then select Execution History. The panel that opens lists runs in reverse chronological order, with one row per execution. Selecting a row expands the details for the nodes that ran during that pass. According to the NocoBase workflow documentation and the application catalog tutorial, this is the supported path for reviewing both successful and failed runs.
A workflow execution record answers three practical questions:
Execution history is therefore the primary debugging surface for workflows: it covers cases where the flow ran but the wrong step executed, and cases where a step ran with unexpected inputs.
Two trigger types are especially prone to silent surprises, and execution history is the fastest way to diagnose them:
The exact menu labels — including the "…" entry and the Execution History title — can shift across NocoBase versions. As of NocoBase 2.2, recent fixes have touched manual execution, revision navigation, and schedule triggers, so UI wording should be confirmed against the current documentation before training other prototypers. The underlying model — one record per trigger firing, with per-node results and preserved context — has remained consistent.
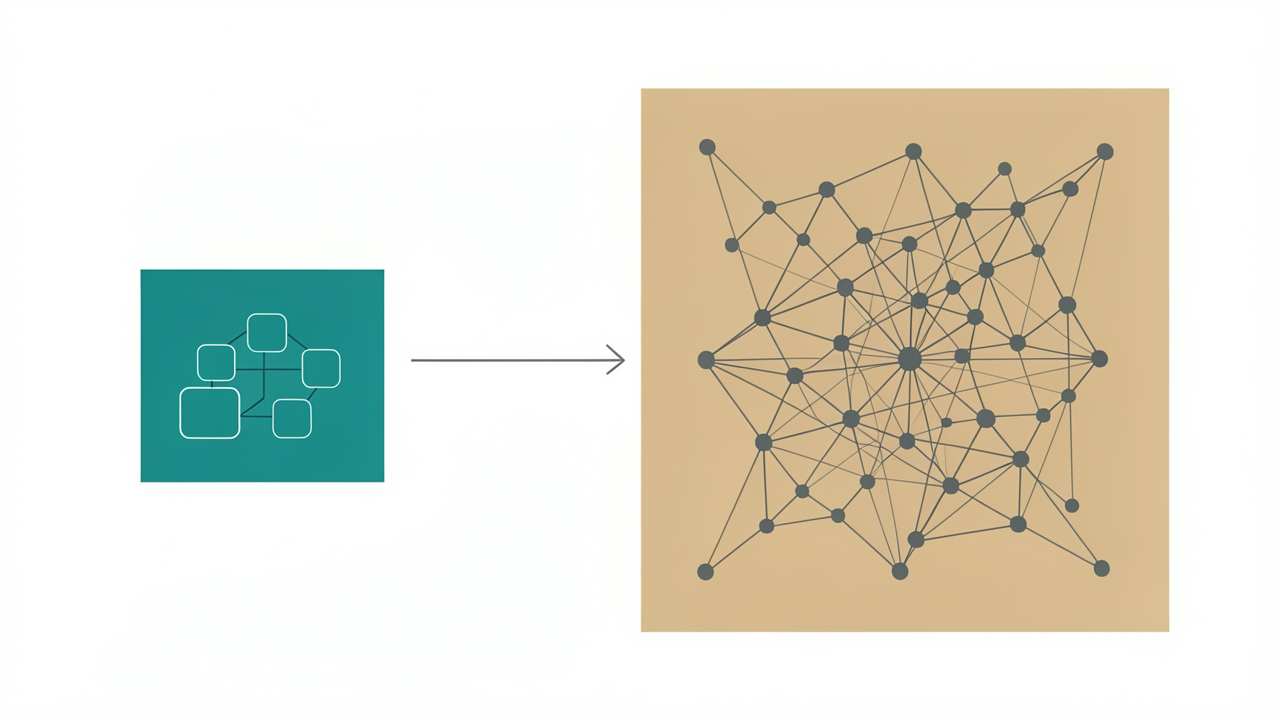
The Workflow plugin covers a well-defined middle ground in the NocoBase stack. The official documentation describes four scenarios it is designed to handle (NocoBase Workflow docs):
For a prototype, these four scenarios cover the majority of what non-engineers actually need: confirmations, status notifications, scheduled reports, approvals, and lightweight data sync between collections.
Where the plugin shows its limits is when automation gets heavy. Independent reviews describe NocoBase's workflow engine as "functional but basic" and "less sophisticated than Zapier, n8n, or HubSpot's workflow builder," noting that complex multi-step flows with branching logic often require extending the plugin rather than pure configuration (dench.com review). Practical gaps in a real sales stack include no native Gmail or Outlook integration and no built-in email sequencing, both of which fall outside what the Workflow plugin can do on its own.
A pragmatic rule of thumb for prototypers:
This split keeps prototypes fast to build, honest about what the Workflow plugin can and cannot do, and ready to scale once the automation needs outgrow configuration alone.
Before turning any workflow on, a short planning pass saves far more time than it costs. The six steps below map directly to the four foundational concepts covered earlier and keep the build small enough to debug with Execution History.
Pick the trigger that matches the real-world cause. NocoBase offers three trigger types out of the box: Collection Event (a data change in a specific collection), Scheduled Event (a cron-style time trigger), and Post-Action Event (a user action that has just completed) (NocoBase Workflow docs). Choosing the wrong one is the most common reason a workflow "never fires." State the cause in plain language — "when an order is created," "every Monday at 09:00," "after the 'Approve' button is clicked" — and match it to the corresponding trigger.
Sketch the nodes on paper first. A workflow is a flowchart with one entry point and a series of instruction steps, so draw boxes and arrows on paper or a whiteboard before touching the configuration UI (NocoBase Workflow docs). Naming each box with its real-world job ("check stock," "notify manager," "create shipment") forces decisions about order and ownership that the visual editor otherwise hides.
Decide which branches matter. Not every conditional needs a Branch node. Add branching only where the downstream steps genuinely differ; keep the rest linear. This keeps the canvas readable and Execution History easy to interpret later.
Choose the right node for external data. When a step needs data that lives outside the trigger's record, pick the lighter tool: a Collection query node reads from NocoBase's own database, while an HTTP (Request) node is reserved for true external systems (NocoBase Workflow docs). Reaching for HTTP by default adds latency, error-handling surface, and credentials to manage.
Plan write-backs explicitly. For every node that changes data, note the target collection and field. Conflicting writes — two nodes updating the same field through different paths — are a frequent source of subtle bugs and are hard to spot in Execution History.
Activate, then verify one run at a time. Flip the workflow On, trigger it once, and open Execution History from the workflow's "..." menu to confirm that every node produced the expected result (Building an Application Catalog with NocoBase). Each execution stores the per-node outcome and trigger context, so a single test run usually pinpoints the step that misbehaves.
Iterate in small workflows. A short workflow — one trigger, a handful of nodes, a single outcome — is dramatically easier to read, test, and reuse as a subflow than a single sprawling process. Build the smallest workflow that delivers one business outcome, verify it in Execution History, then add the next workflow on top. Debugging many small workflows is faster and safer than untangling one large one.